| Every Christmas, I always give each family member some sort of baked good (I'm not denying that it may have something to do with the fact that come Christmas time I'm usually broke!). Last year I think I stayed up until 4 a.m with my best friend trying to come up with creative ways to wrap desserts ranging from caramel coated nuts to shortbread cookies. That's why this year, I decided to come up with a universal wrapping method. You heard me right; this tutorial is valid for basically anything you bake and can be used at any time of the year! Because of my not-so-secret obsession with mason jars, I decided to have fun with them and create the "cupbake" (little twist on cupcake ;) : a cute container for you baked goods that then transforms into a lovely reusable mug! All you need to make one of your own is: -A pair of scissors -Ribbon of your choice -Mason jars -A drill (optional) -Pretty straws (optional) -Baked goods -Labels -A nice ambiance created by a playlist that must include at least one Mariah Carrey and Michael Buble song :) (unless of course it isn't Christmas! Let's begin! Step 1: Drilling the hole If you do not dispose of a drill or do not have time to make a hole at the top of a mason jar using some other method (knives don't work for anyone who thought they wanted to give it a go! Trust me, I know this thanks to many failed and highly dangerous attempts. Note to all: wrapping your cookies shouldn't involve putting your life in danger...EVER!), then all you have to do is cut up whatever you made into cubes if it doesn't look like it's going to fit inside the mason jar (if they're brownies for example) and dump it in. Your work is almost complete so give yourself a little pat on the back :) Now for the rest of you brave souls comes the drilling step. Put a bit that you judge will fit the straw you are going to be using and screw it into the chuck. Place the mason jar lid over a thick and damageable surface such as a plank of wood. Center the bit over the lid, turn on your drill and make that hole! Now wasn't that easy? Step 2: Filling the jars Fill the jars with whatever yummy goodies you've prepared. Step 3: Adding the final touches Close the mason jar's lid and tie a ribbon around it so that the bow is aligned with the front of the jar. Slip a pretty straw between the jar and the ribbon (I bought the old fasioned paper straws you see in the pictures for 10$ at Zone. The only downside to them is that they got soggy pretty quickly and tend to have a carboardy aftertaste :(. Stick a label on the front of the jar and you've got yourself a cupbake! Enjoy! |  What you'll need 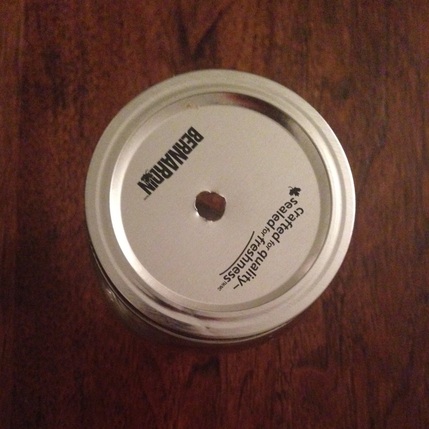 Step 1: make sure the bit you use fits your straw 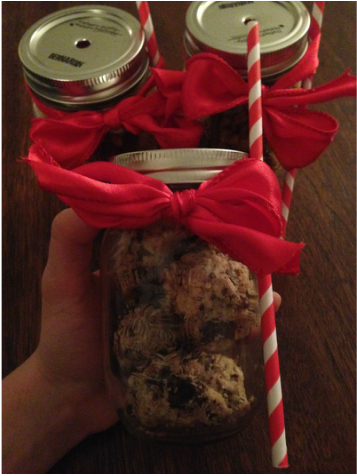 Step 3: Add ribbon and a straw and voila! |
0 Comments
| ArchivesCategories |
 RSS Feed